Although the steps for refilling Epson cartridges vary a little from the normal drill, prep, fill, and test routine, all Epson cartridges use basically the same refilling technique and steps. There will be only two new steps. Here are simple and easy to use instructions for all operators to learn how to refill these cartridges.
Step 1: Select and login the Epson cartridge in the normal fashion.
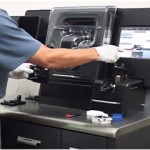
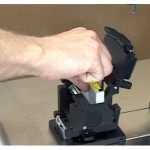
Step 2: Insert any Epson cartridge into the Epson T1 Prep/Fill adapter. Place the cartridge in the adapter in a similar fashion as other tank cartridges in the HP-CAN T1 adapter with the latch on the left as you are looking at the front of the adapter. Close the lid. (if the cartridge has been refilled before replace the plug with a new one and go to step 4)
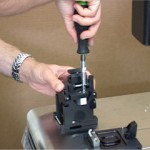
Step 3: Drill normally except there are two walls to get through not just one. You will feel the drill stop at and then go through the second wall. Hold down for 3 seconds to give the drill time to make a smooth hole. After drilling with the drill press, you may wish to use the hand drill in a plunger up and down fashion to make sure the hole is the right size and is free from pieces of plastic. Twisting is not necessary. (it is very important not to skip this step.)
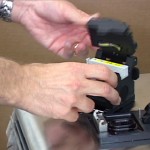
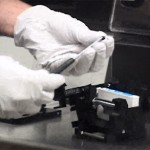
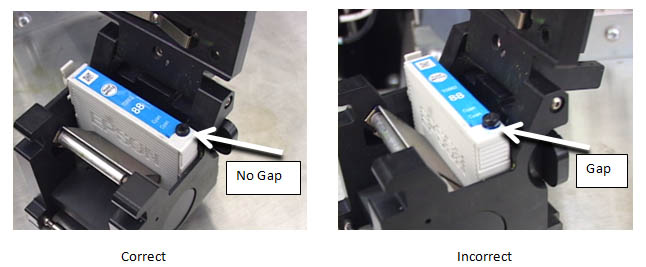
Step 4: Get an Epson plug and place it into the drilled hole. To make it easier to fit into the hole keep it straight up and down so it doesn’t bend going in the hole. Twisting as you go might help as well. You may develop your own best way of doing this. If you don’t use the hand drill to make a good hole in the cartridge, it may be difficult to insert the plug. The plug should be all the way into the hole with only the lip outside of the cartridge as shown below.
Alternatively, you may wish to use the insertion tool provided. See picture below.
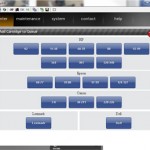
Step 5: Prep by selecting/highlighting the ID Tag and then placing the adapter and cartridge in a Prep station. Remember to swing the Prep flap down. Prep will start.
Step 6: Clean up after Prep as usual, Select the correct ID tag , move Prep flap out of the way, bring up the Fill flap and place the assembly into the fill chamber. Insert the correct injector as usual. Close fill chamber door. After refill if there is an overflow, the cartridge should be considered a fail.
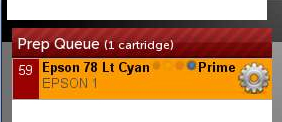
Step 7: This step is new. After refill, the cartridge will need to be primed in order to work correctly in the customers printer. Do this by first selecting the correct ID Tag and then place the assembly into a Prep station (bring Prep flap back down). The process will take a couple of seconds.
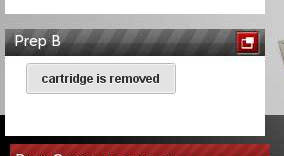
Step 8: After Prime a new button will appear “Cartridge is removed”. With the adapter still in the Prep station pull out the cartridge and clean it. Once removed select the on screen button “Cartridge is removed”. The InkCenter will then clean excess ink from the adapter making cleanup easier. This will take a few seconds. NOTE: if you forget to take the cartridge out it will be drained.
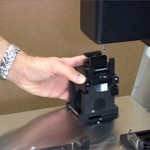
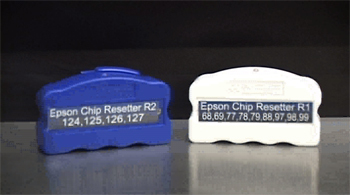
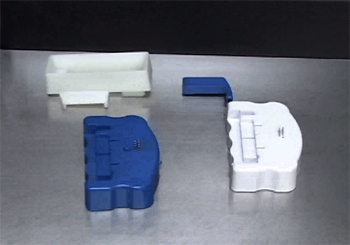
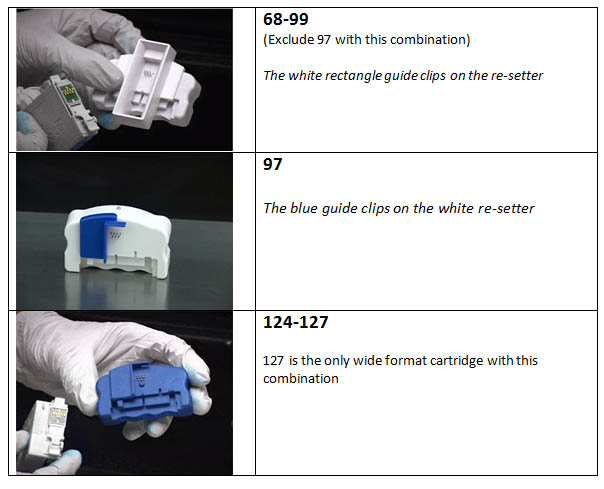
Step 9: You will use one of two chip re-setters to reset the chip on the cartridge. Look on the bottom of the re-setter to see the list of cartridges for that re-setter. The re-setters come with attachments or guides to help you get a good fit with the re-setter when re-setting the chip. See below.
Hold the cartridge upside down and place in the re-setter to view the green LED light (see image below). When the light stays on and is green the chip is reset. If red the chip reset has failed.
If it fails make sure the alignment is correct, then try again. It does not matter how many times you attempt to reset the chip.
Re-setter and Guide
Cartridges Re-set with this Combination
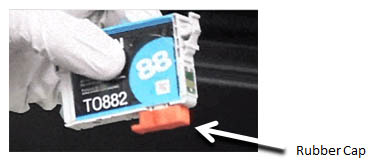
Step 10: Apply an orange rubber cap and package as usual. Don’t forget the date label and Epson care card.
An Important Tip
Always make sure the plug is seated well with no gap, if it is not the process will not have a very high chance of success. Look at the two pictures below. One has a proper seating and the other plug does not.
Thank you,
The RIS Team
Questions? Call 1-888-231-9379 Option 2
